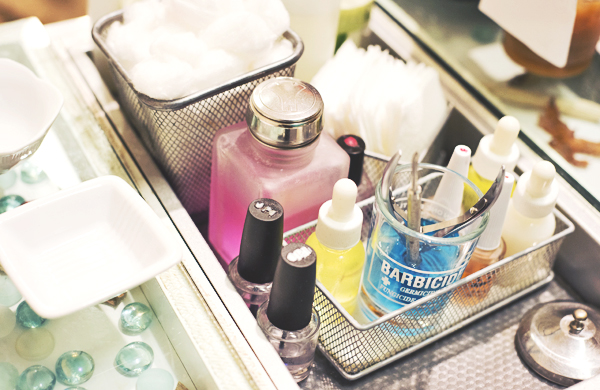
For what seems like forever I’ve been hearing that no-chip manicures are meant to last two weeks. That seems unlikely to me—I’m so clumsy, I’m amazed whenever I make it through the day with both hands intact, let alone a manicure. But after some research on no-chip polish, I finally decided to test it out. I got a no-chip manicure, and took pictures of it daily over a two-week span. I then did the same thing with a regular manicure (which I guess you could call a chip manicure?). Let’s see how they stack up.
Phase 1: Application
No-chip manicure
The no-chip application process isn’t that different from a regular manicure’s—except that after every coat of polish, the technician “set” her work by sticking my hand under a UV lamp. This meant that: 1) my hands basically got to go to the beach in the middle of winter, and 2) when my nails were done, they were super done. I could have immediately started rummaging around in a bag of tortilla chips. (To clarify: I did not bring chips to the salon. I just like chips and think about them often.)
Regular manicure
You know the drill. My favorite part is when they massage your forearms with, like, sugar paste? So amazing that that’s a widely available service. (A solid summary of this whole Application section is: I love nail salons.)
Phase 2: Two Weeks of Wear
No-chip manicure
Maybe because I don’t get out much, I was genuinely amazed by the durability of no-chip polish. It didn’t chip, it stayed shiny, and the base edge of the polish never got raggedy, even as the nail grew out. I think this stuff is mined in space.
Regular manicure
I love regular manicures, but they were definitely outclassed in this contest. One of my fingers got hugely smudged, all because I put it (very daintily) in my pocket on the way home from the salon. I schlepped back to get it retouched, for free, so as not to give no-chip an unfair advantage, but the regular polish still started peeling off before the two-week mark.
Phase 3: Removal
No-chip manicure
Removing no-chip polish generally requires a return trip to the salon. It was free (cool!) but, in my case, also inconvenient and uncomfortable in a way that is hard to explain. There was just a lot of … scraping. First the tech scraped the surface of my nails with an emery board, to break up the shiny seal. Later after an acetone soak, more scraping, this time with an orange stick (which looks and feels like dental instrument), to actually remove the polish. It took nearly half an hour. It doesn’t hurt, but at the same time I will never think, “Man, I miss those scraping feelings.”
Regular manicure
I took it off at home with some nail-polish remover. It took five minutes. Which left plenty of time for chip eating.
The Verdict
It’s hard to name just one winner in this contest, so instead I will name four. Even though there are only two contestants.
- If your top priority is durability: No-chip
- If your top priority is shine: No-chip
- If your top priority is your budget: Regular
- If your top priority is avoiding scrapey feelings: Regular
In closing, I want to congratulate both my manicures on their performance. You guys did a great job and made my hands substantially cuter than usual. For more info, read up on how to remove no-chip polish at home (a process I wasn’t brave enough to try) and other long-lasting manicure options.
Shop for deals at local nail salons.


