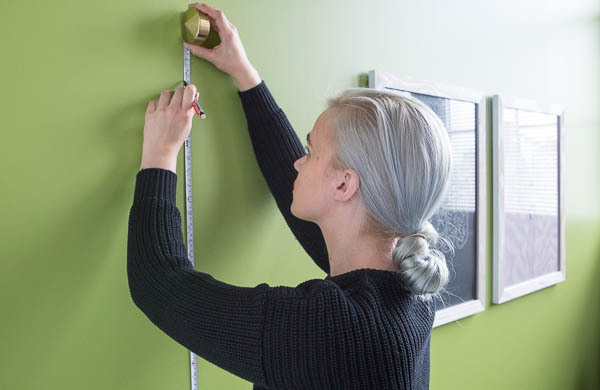
When it comes to home decorating, no decision is as personal as choosing what art to display. You might agonize over the cost of a new couch or rug, but your art really speaks to who you are. Unfortunately, once most people find or print the perfect piece, they carefully tuck it away in a corner because figuring out where and how to hang a picture can be downright anxiety-inducing. That's why we've compiled a series of tips to help make hanging picture frames a breeze.
The 57 Inches on Center Rule
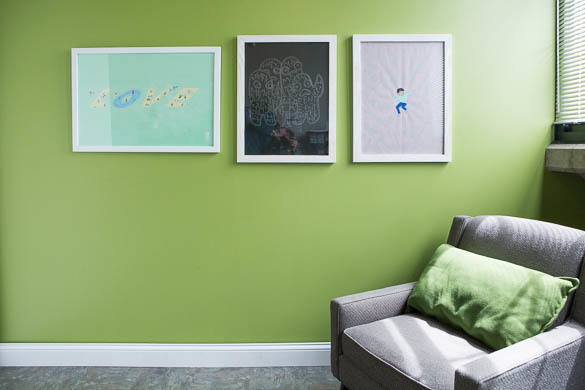
If you have a lot of art or photos and you really want that perfect gallery feel, then common practice dictates that you follow the 57-inches-on-center rule. Simply put, the exact center of the piece (imagine a dot smack in the middle of the photo or artwork) should be 57 inches off the ground when hung. It's important to note that this doesn't mean you'll want to hammer your nail 57 inches up, in fact it'll need to be higher than that to allow the piece itself to rest at the right spot. To figure out how to do this, you'll want to follow the following steps:
1. Measure 57 inches up from the ground and make a mark in pencil on the wall.
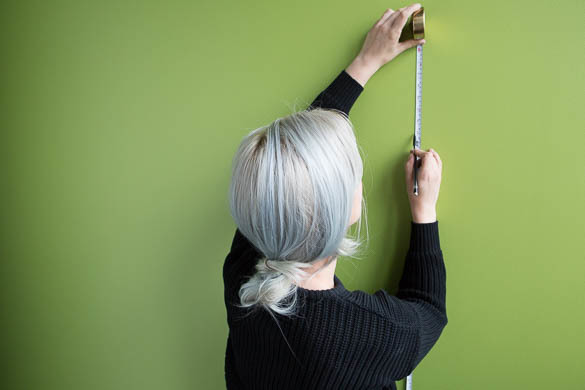
2. Measure the height of your framed piece and divide by two to find the exact middle (which we'll call "X").
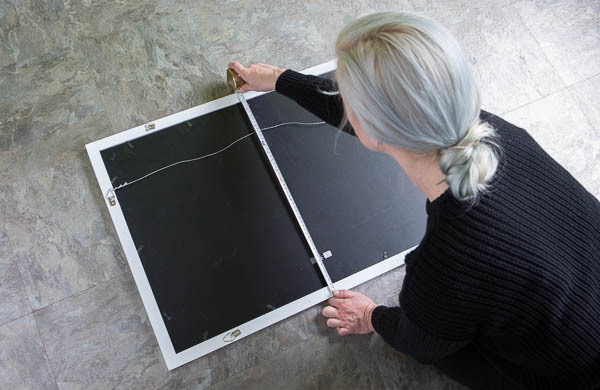
3. Measure from the top of the wire or hook to the top of the piece (this will be a small number we'll refer to as "Y").
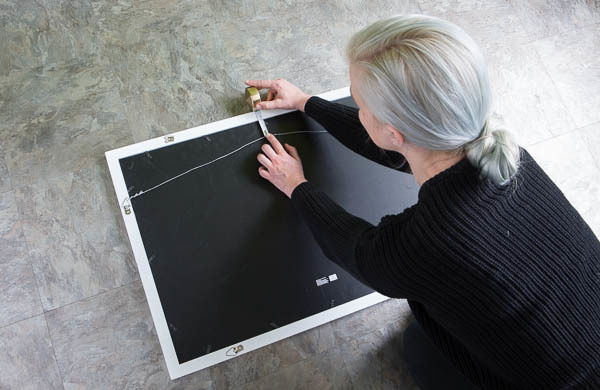
4. Subtract Y from X to get Z.
5. Add Z to 57 inches, and that's where you should place your nail.
For example, if you have a poster frame measuring 24"x36" that you'd like to hang following the rule, your steps would look like this:
1. Measure 57" from the ground.
2. 36" ÷ 2 = 18"
3. Measure from the top of the wire or hook to the top of the piece (let's say you measure and get 3 inches).
4. 18" - 3" = 15"
5. 57" + 15" = 72"
So you would nail or drill your hook at 72 inches from the floor allowing your piece of art to hang at the ideal gallery height.
How to Hang a Picture with Two Hooks
There are a few things you'll need, but most importantly you'll need masking tape and a level.
1. Lay a length of masking tape between the two hooks.
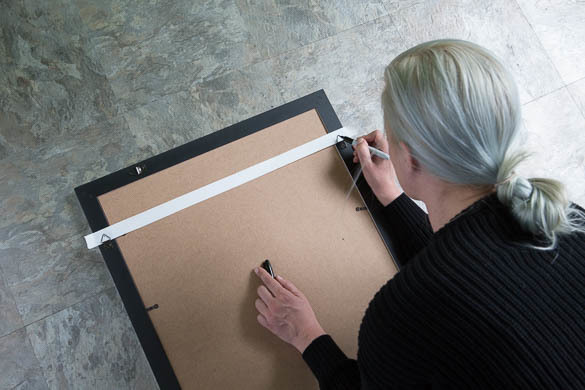
2. Take a marker or pen, and mark the center of each hook.
3. Remove the tape, and (using the level) put it on the wall at the desired height.
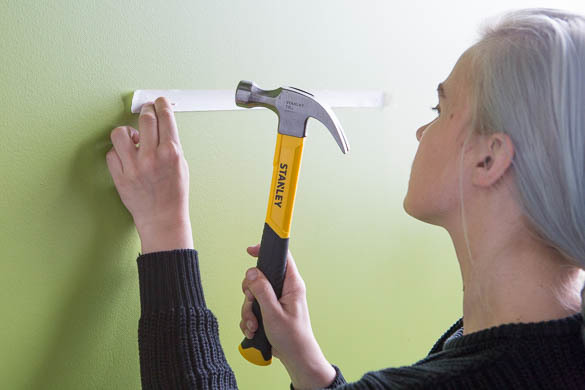
4. Put in the nails where you've made the marks on the tape, peel off the tape, and voila!
This method can be paired with the 57-inches-on-center method described above to make sure that hanging it follows the rule. It can also be used when simply eyeballing where you want the artwork to hang, while ensuring it doesn't hang askew.
Creating a Gallery Wall
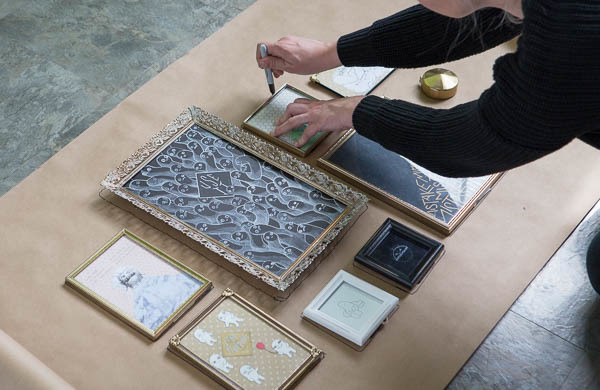
Gallery walls are the most daunting art-hanging project because not only do you need to figure out where each piece best fits, but then you've got to get them all up on the wall while maintaining the appropriate spacing between each. Instead of struggling to determine the measurements for each, let a long sheet of butcher paper do the work for you.
1. Roll out a sheet of butcher paper.
2. Arrange the frames you want to hang on the paper until you find an arrangement you like.
3. Once you do, take a pencil and trace around the frames. Make a mark of where the nail should be on each outline.
4. Tape the butcher paper up on the wall where you want the collection to go.
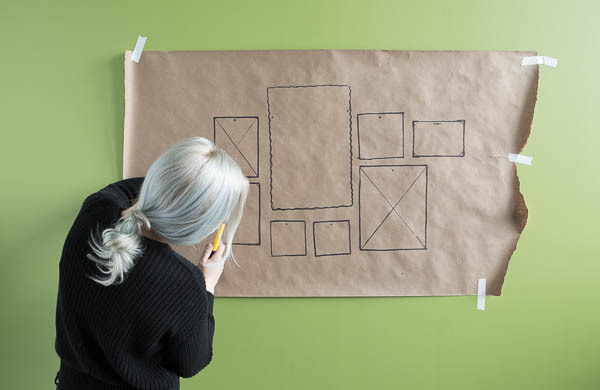
5. Hammer the nails.
6. Tear the paper down and hang up your frames.
Essential Tools
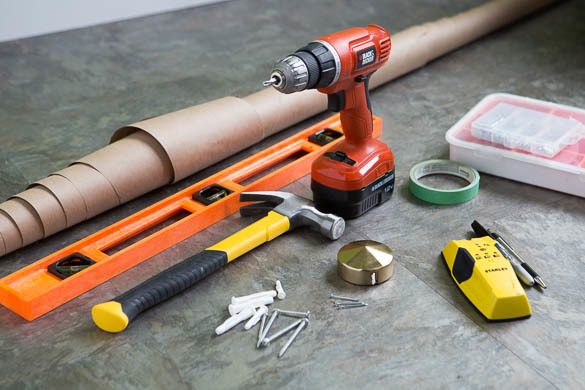
Now that you know how to hang a picture, it's time to figure out what sort of nails or screws you should be using to do it. For most small frames and artworks (up to 11"x14" or so), regular nails or small hooks will work just fine.
If you're hanging something heavier, though, then you'll want to use a drill and anchors instead of a hammer and nails. For the anchor method, you'll drill a hole much larger than your screw into which you'll fit a small, plastic anchor. Then, you'll use your drill to push the screw through the anchor—this will keep your art piece from crashing down and possibly tearing apart your drywall in the process. Another option is to use a stud finder (an essential tip for the heaviest pieces) and drill directly into the stud for extra stability.
Photography by Michelle Klosinski, Illustrations by @thinkgs


