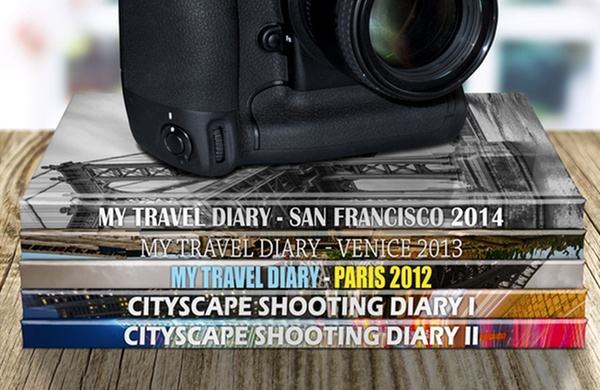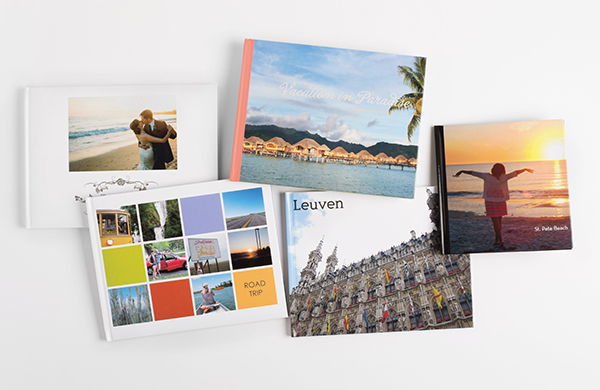
In the past, memories of special occasions, vacations, and family milestones were preserved in a photo album or slideshow. But thanks to digital cameras and smartphones, photo prints are increasingly a thing of the past, as are those physical mementos. For those of us who want tangible proof of where we’ve been or how bad our little brother’s second-grade haircut was, the photo book marries the old-school album format with modern digital convenience.
With all of the sites and ready-made templates to choose from, making a custom photo book can seem daunting, but it doesn’t have to be. With a few tips, you can have your own creation that looks like the best photo books the pros make.
Pick Your Pics
You probably don’t want to throw in every single picture you’ve taken. (For one thing, it will make a very long, very expensive book.) Instead, the best photo books contain the absolute best shots for the most powerful presentation. If you have a lot of photos, here’s how to narrow them down:
Viva Variety!
If all the photos look the same, whether posed or location shots, it can get boring. Instead, look for a healthy mix of pics: some posed photos, some candid shots, and some objects and locations. Variety is the spice of life, but it also helps make good photo books.
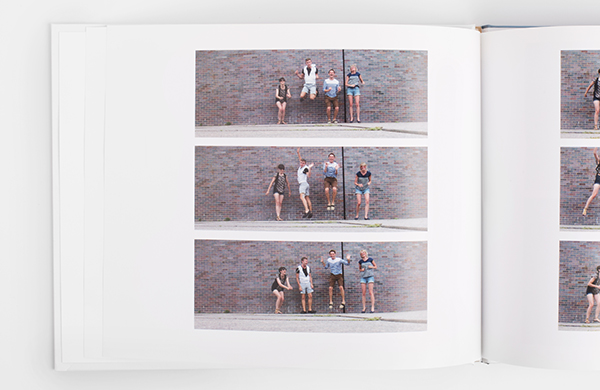
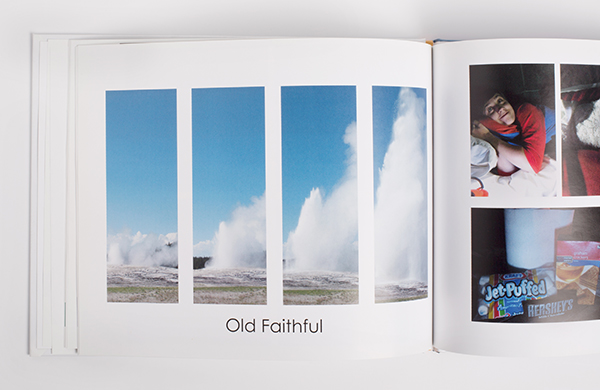
Pro tip: If you have the chance, consider these things as you take the photos. For example, if you find yourself posing in front of every landmark, branch out and snap a goofy portrait, a close-up of an intricate detail, or landscape shot that sets the scene. It’ll make it easier to get a fun mix afterward, and you’ll probably capture more of the experience, too.
Image Problems
Take a look at the photos below.


You’ll see that the photo on the left has a few issues. The subjects are blurry, and the lighting is inadequate. You can see a red-eye effect, as well. When people are in pictures, go for the most flattering, clear shots, even if you are sacrificing some variety.
Pro tip: You don’t have to automatically toss a photo with blurring or low lighting; in some cases, it may produce an image with an effect that you’ll like. If the photo is a favorite with some more serious issues, try to correct it on editing software.
If an image is good but has too much blank or uninteresting space, crop it down.

Put It Together
As you comb through your photos, set aside your favorites in a separate folder on your computer or phone. That way, when you’re ready to make your photo book, you only spend time uploading and sorting through the ones you’re going to use.
Tell a Story
This is a book, after all. Chronological order usually works the best, especially for weddings and vacations, but if you have a different arrangement in mind, go for it!
Make a Plan
Now that you’ve got your favorite photos, you’ll also want to plan out the details.
Hardcover or Softcover?
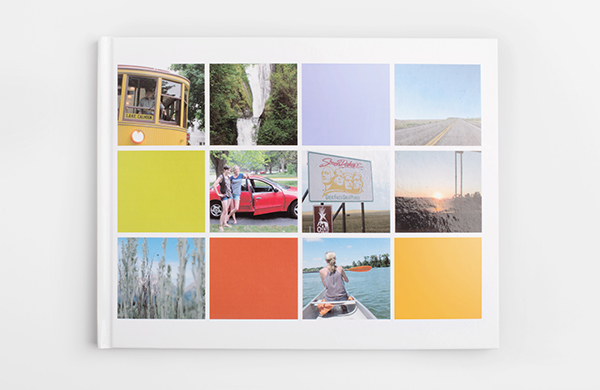
Hardcover books are more durable, but they’re also more expensive. Softcover books can be more comfortable to read.
Whatchamacallit?
Your book will likely have a theme, such as a wedding or a vacation. If you’d like, a title sets the tone for the book, so something catchy or clever can add a fun touch. If the occasion is a bit more solemn, then a straightforward title will do.
Glossy or Matte?
You may have a choice of finishes for the cover and pages. Generally speaking, glossy pages will offer a pleasing, light-catching sheen and can make images pop. That said, a matte finish can have a more timeless, arty feel.
Page by Page
It took some prep work, but now you’re ready to create your masterpiece. Most sites have premade templates that you can drop photos into, but they may be too simplistic or restrictive. Designers of the best photo books let the photos dictate the design. To create a polished finish, keep these expert tips in mind:
Think About Your Eyes
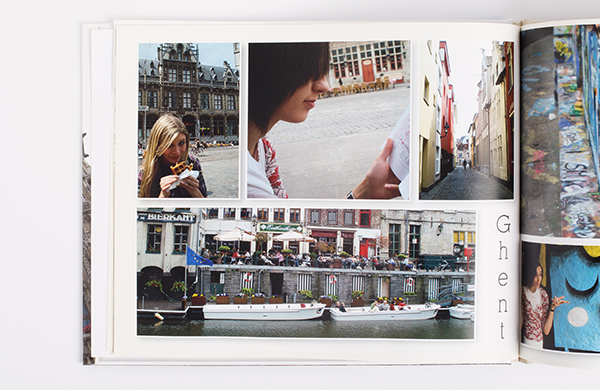
When you look at a page, your eye wants to know where to focus. If you have four photos that are all the same size, it can be hard to take it all in. But if you vary the sizes and make one of those images dominant, your eye will be drawn to it first and it makes the page easier to look at.
Back to Books
Most people read from left to right and top to bottom, so a layout that encourages “reading” in that general manner is ideal.
Vary Your Layouts
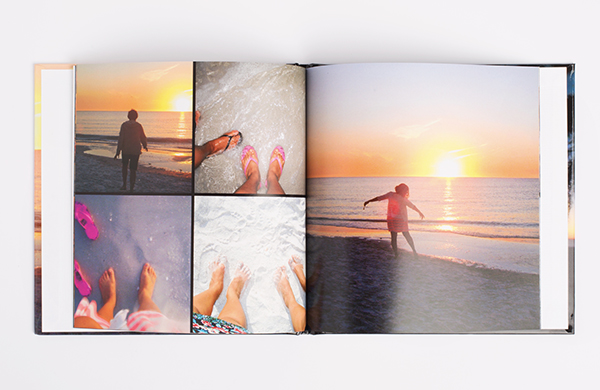
Change up the number and style of photos from one page to the next.
 What Else Can I Add?
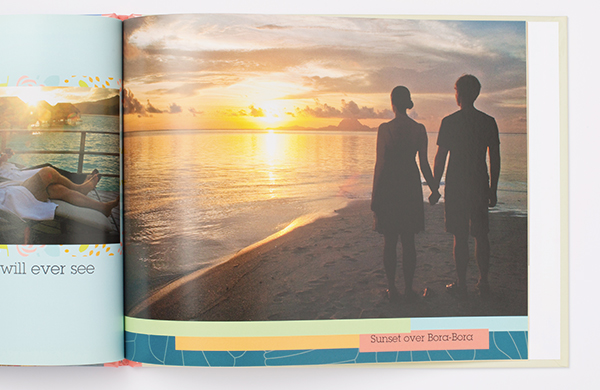
You can usually add text to explain some photos, and backgrounds can add a complementary feel to the theme. But use them strategically. You don’t want to distract from the photos themselves. So if you add them, use a dignified typeface (not Comic Sans) and a background that meshes well. If it takes away from the photos though, don’t use it.
All Done!
Congratulations! As soon as you submit the design, it’ll be just a few weeks until you have your custom photo book in hand. Stand it up on the bookcase, leave it open on the coffee table, or just have it nearby whenever you’re feeling nostalgic.
